 Chicago
Holiday Gift Idea
There's just a little more than a week left before Christmas, so here's a last minute gift idea from Urban Gear Works. With just an hour or two of work and about twenty dollars, you can create a stylish gift that will look great in most any home or office.
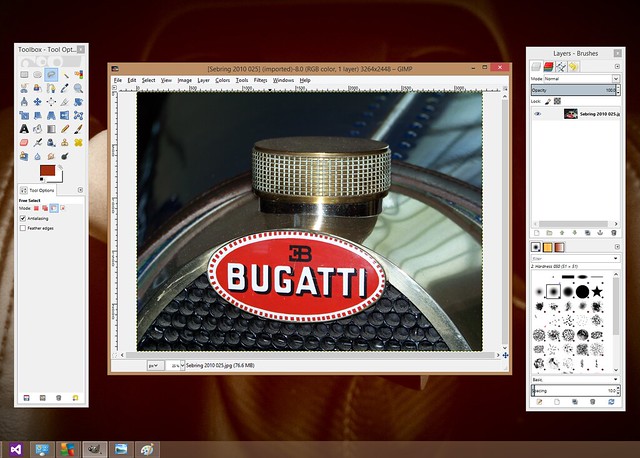
First, download GIMP. GIMP is an incredibly powerful image editing application, equal to Photoshop for most tasks, and most importantly, it's free! Don't worry if you haven't used it before. Everything you need to do will be covered in the following steps.
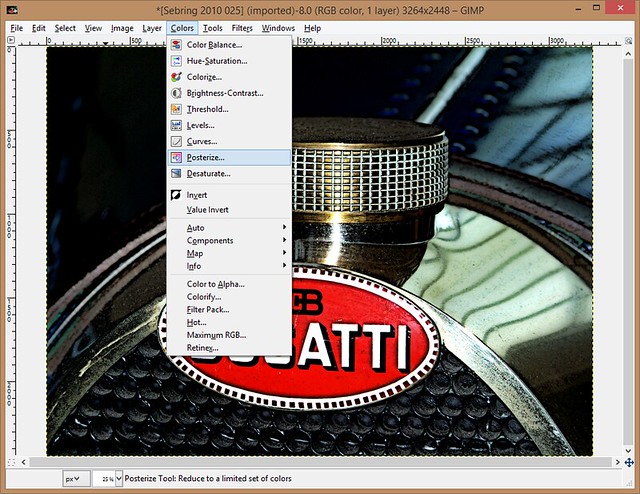
Next, select an image and open it with GIMP. For this example, a close-up of a Bugatti radiator will be used, but just about any photograph will work.
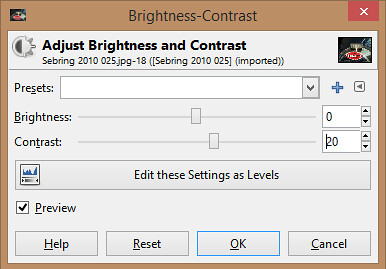
(The following steps are for stylistic effect and are subject to personal preference - feel free to experiement with GIMP's image filters.)
In this case, the contrast is enhanced to create bold colors.

Next, the "cartoon" filter is applied to create dark outlines.


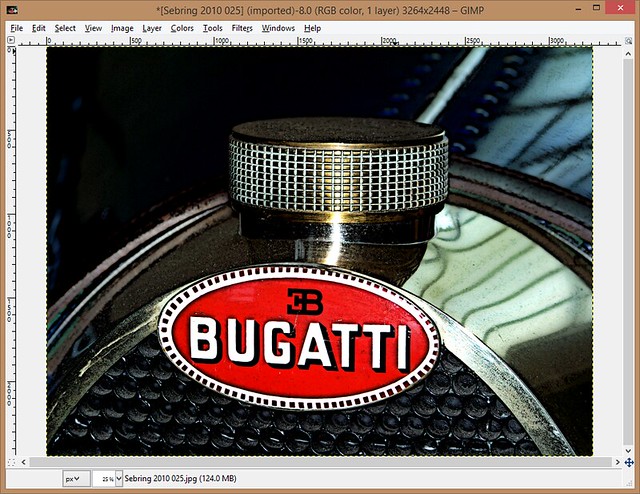
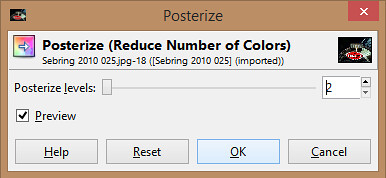
Finally, "posterize" is used to make the image look a little less like a common photograph.
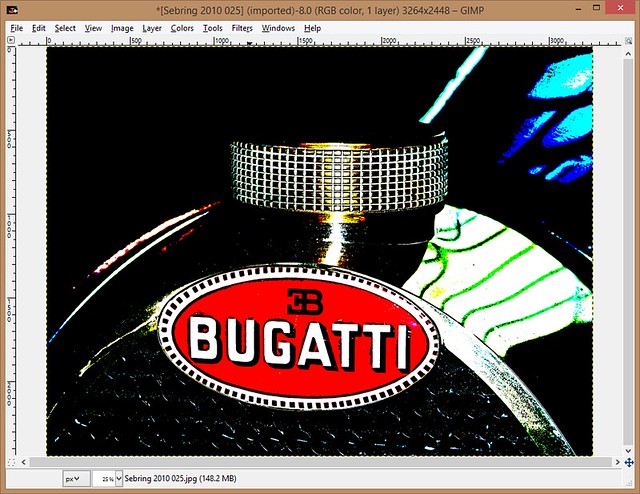
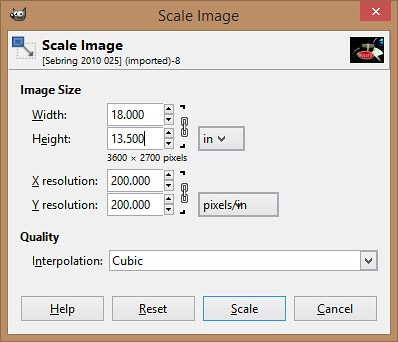
More filters and effects can be applied to personal taste. When the desired image is attained, choose "Scale Image" to begin the process of converting the image to a large-scale format.
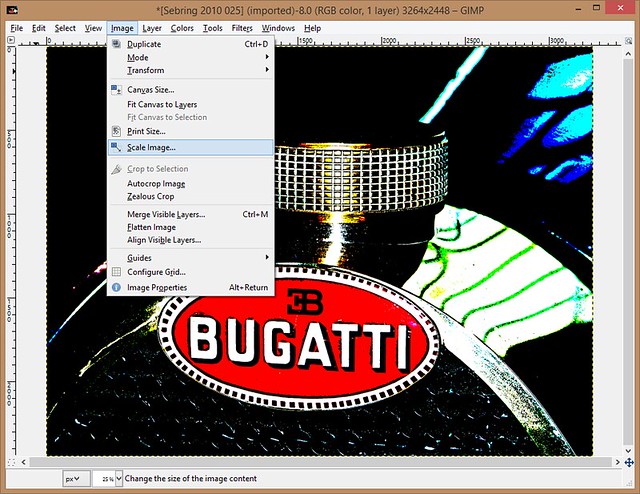
Set the units to "inches", and change the width to 18 inches. Be sure that the "chain" icon to the right of the units is linked to keep the aspect ratio. If not, click on the icon to link width and height. The final output will be printed as 4 x 6 photos, so the width needs to be a multiple of 6. The height doesn't quite work yet, but that will be sorted.
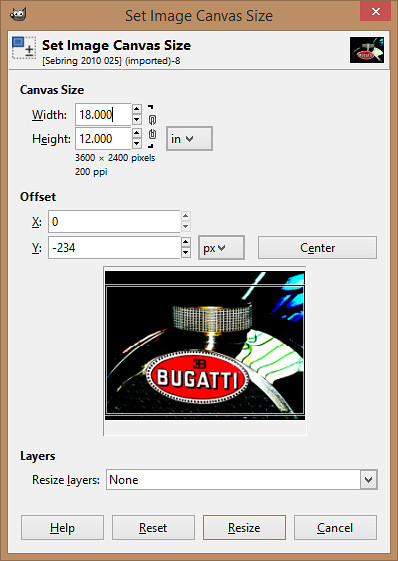
The height is solved by changing the canvas size.

Leave the link icon "broken" in this dialog, and change the height to 12 inches. In the lower half of the dialog, you can drag your image to control what portion is cropped.
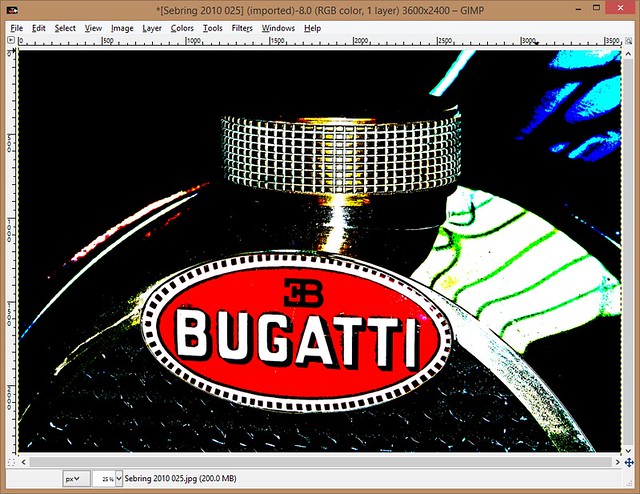
At this point, the main image is complete.
Make sure to save a copy of the main image in a separate location, because the next step is splitting the image into multiple sections for printing. It is easy at this stage to accidentally delete the main image, so keeping a spare is a good idea.
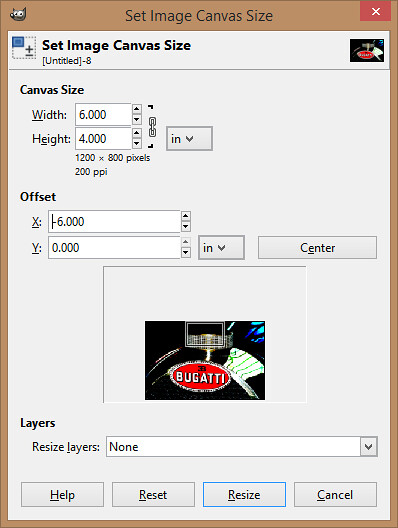
Return to the "Set Image Canvas Size" dialog. Change the canvas size to 6 inches wide and 4 inches tall. In this case, leave the offset as is. This is the first image.
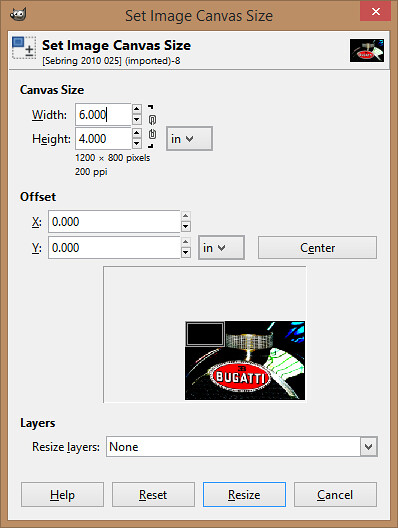
Export the image as a .jpg or .png file, using "File" and "Export", and use a naming scheme that will help you remember the correct order of the images.

After exporting, go to "Edit" and "Undo" the resizing to get the whole image back. You may have to undo more than once to get back to the main image.
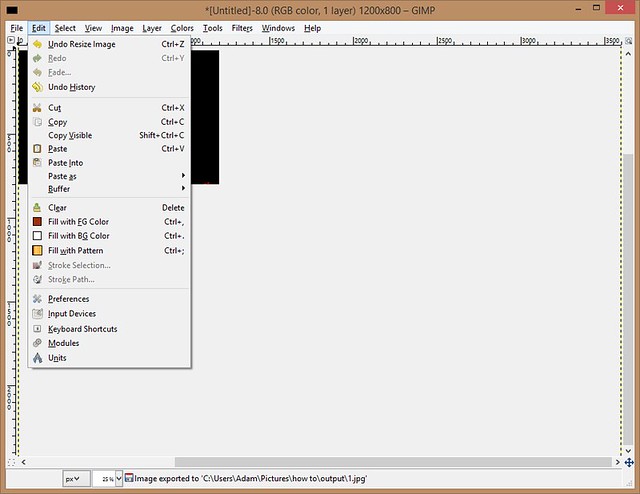
Now, change the image canvas size just like before, but set the offset to -6 inches to get the next section. Export the next section to an image as previously described.
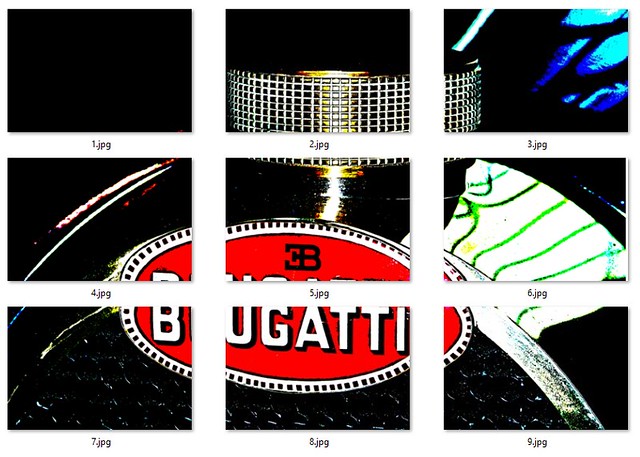
Repeat this step until all 9 images are created. The correct offsets are as follows:
- X: 0 Y: 0
- X: -6 Y: 0
- X: -12 Y: 0
- X: 0 Y: -4
- X: -6 Y: -4
- X: -12 Y: -4
- X: 0 Y: -8
- X: -6 Y: -8
- X: -12 Y: -8
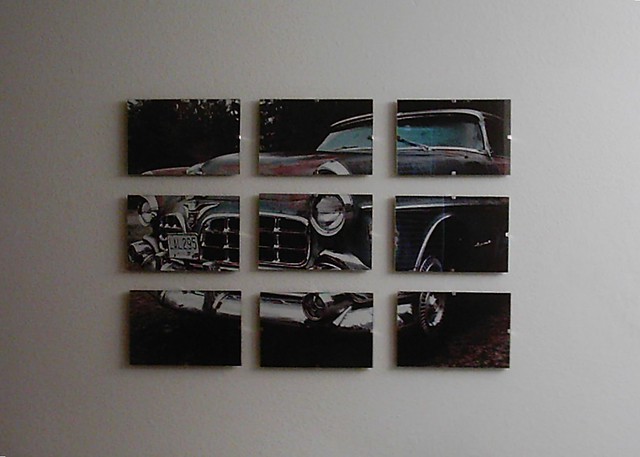
When you've completed exporting all the image sections, you should have a set that looks like this.
Now, all that remains is to print and mount the images. Print the images the same way you would print any other digital photograph. A good photo printer will work, or the local pharmacy or printing center can also handle printing duties. Frameless glass 4 x 6 photo frames can be found at most craft stores for under two dollars each. Once the images are loaded into the frames, they can be mounted anywhere for a unique and modern decoration.